
 NL
NL DE
DE BE
BE DK
DK AT
ATFreewheel disassembly

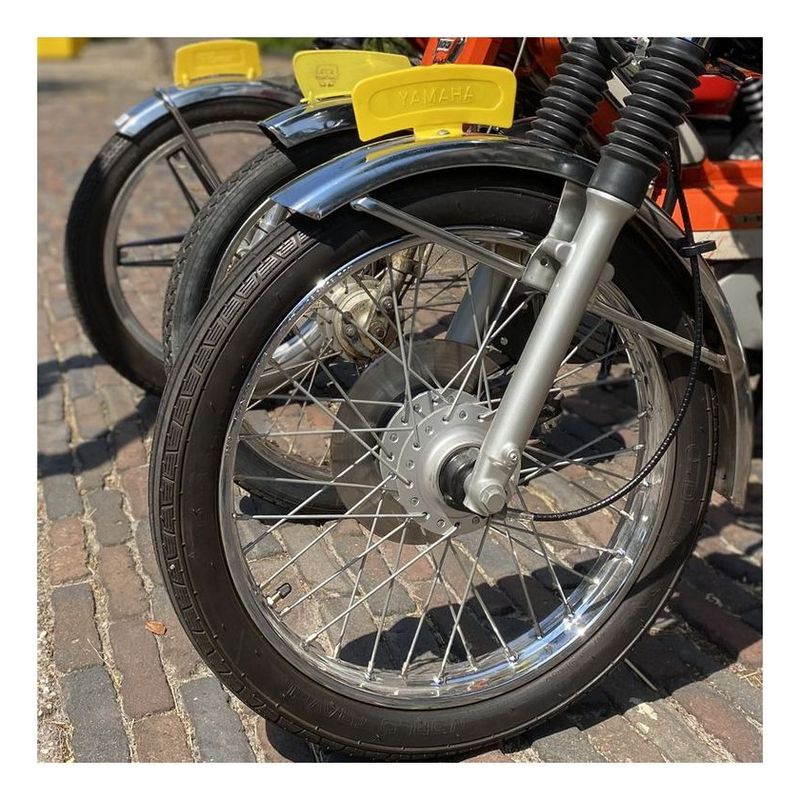
Our Puch spoked front wheels come with a Freewheel on it.
Many of our customers do not need this.
Here is explained in 3 steps how the freewheel is removed properly.
Disassembly Freewheel in 3 steps:
Tools:
1: Pin Punch
2: Variable Joint Pliers (Locking Pliers)
3: Hammer

Step 1:
Tap with a Pin Punch and Hammer to detach the top cap from the Freewheel.
“Clockwise”

Result of step 1:

Step 2:
Remove all loose parts from the Freewheel.

Result of step 2:

Step 3:
Turn the Freewheel holder using the Variable Joint Pliers (or locking pliers)
to separate it from the rim. “Counter-clockwise” 
Result of step 3.

The freewheel is now succesfully removed.
 Groove plier 250MM€4.99
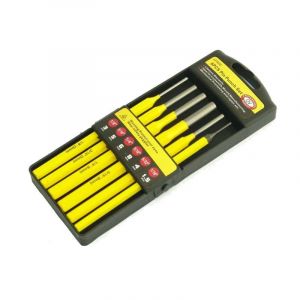 Pin Punches 6-Parts Prof€9.90
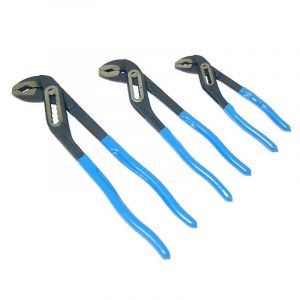 Groove plier set 3-Parts€21.95


Powered by Mirasvit Magento 2 Extensions
-
 Tomos A35/A3 sprocket ratio
If you ride a Tomos, you know that sprocket ratios ...
-
 Puch Maxi Sprocket Ratios
If you ride a Puch Maxi, you know that gear ratios ...
-
 How do you paste stickers?
Here you will find an explanation of the best way ...
-
 How to read tire and rim sizes?
Tires are indicated in 2 different sizes. Me ...
-
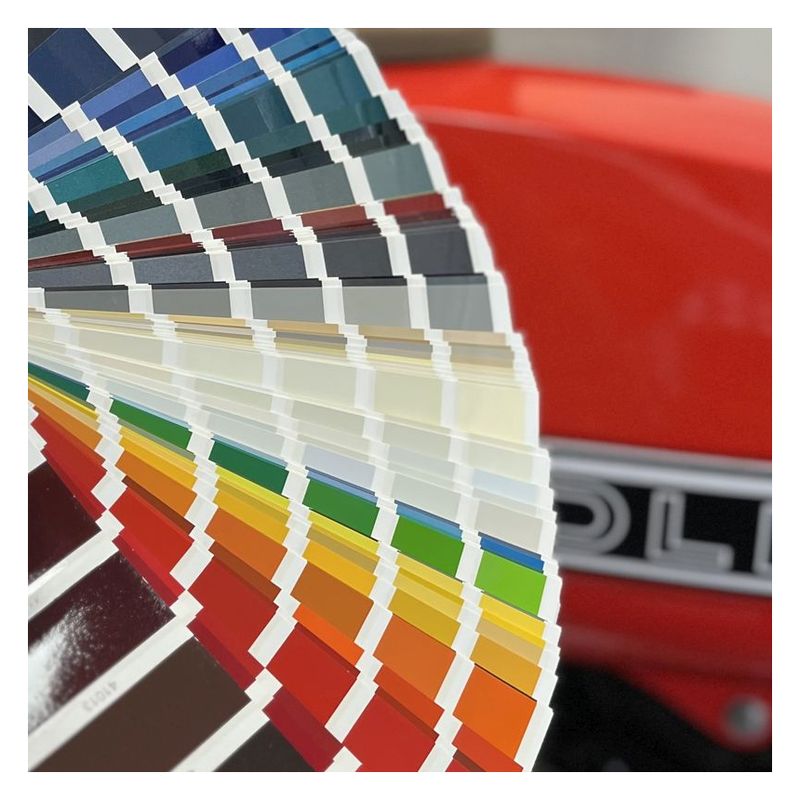 Known RAL Colors
Here you will find the RAL colors we have collecte ...


